Easy Aioli Recipe at Home
Highlighted under: Quick Prep Plates
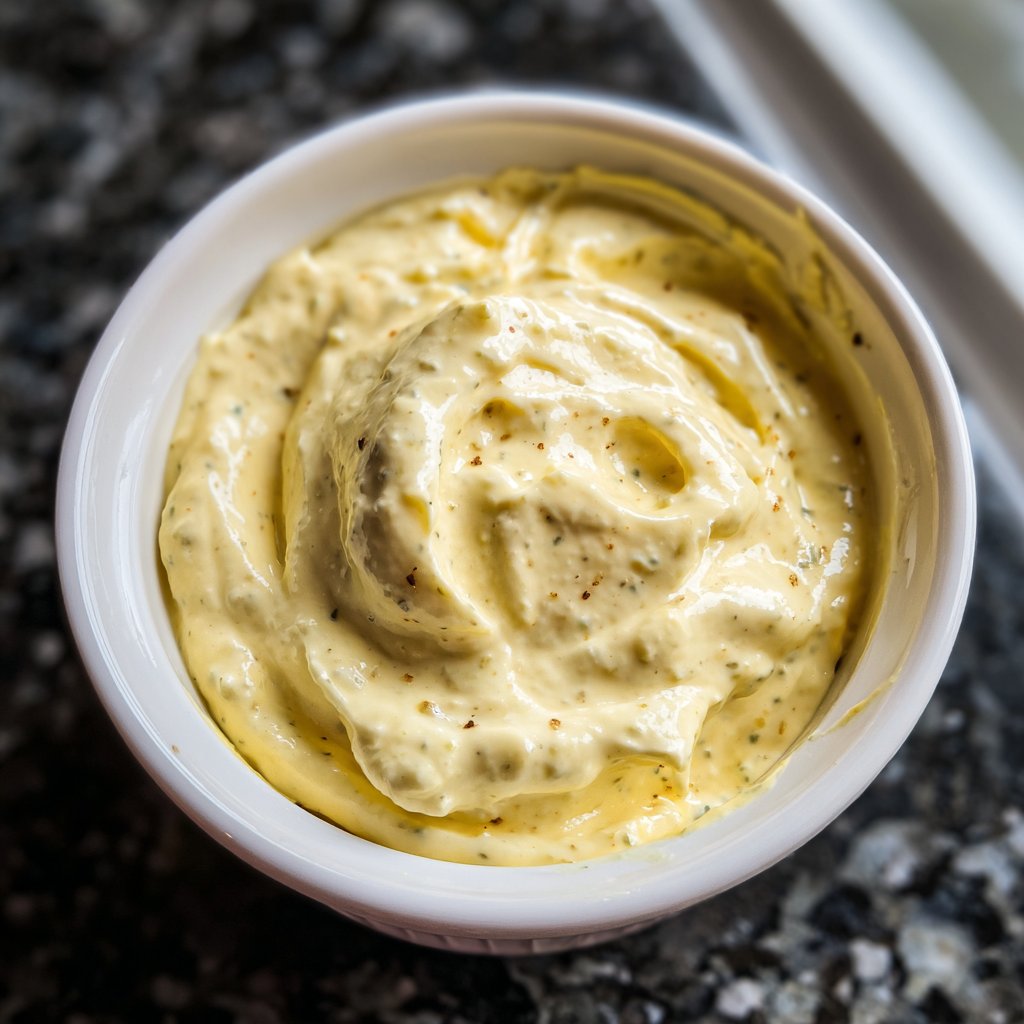
I absolutely love making aioli at home because it allows me to customize flavors and achieve that perfect creamy texture. Whenever I whip up a fresh batch, I find it elevates any dish it accompanies. The rich garlic flavor combined with a hint of lemon juice adds a zesty kick that’s irresistible. Plus, it’s so simple to prepare; you’ll feel like a gourmet chef in no time! Trust me, once you make aioli from scratch, you’ll never want the store-bought version again!
When I first tried making aioli, I was surprised at how simple it really is. My favorite method combines just a few ingredients: garlic, egg yolk, lemon juice, and olive oil. The key tip I learned is to add the olive oil slowly while whisking constantly to create that beautiful emulsion. It transforms the garlic and egg yolk into a silky sauce that can enhance everything from sandwiches to grilled vegetables.
Beyond the basics, I love experimenting with flavors. Sometimes, I’ll add roasted red peppers for a smoky twist, or even a touch of Dijon mustard for some extra zing. It’s so rewarding to have a handmade condiment that you can tailor to your tastes and elevate any meal!
Why You'll Love This Recipe
- Rich garlic flavor that can be adjusted to your taste
- Creamy texture that adds richness to dishes
- Quick and easy to make with just a few ingredients
Mastering Emulsification
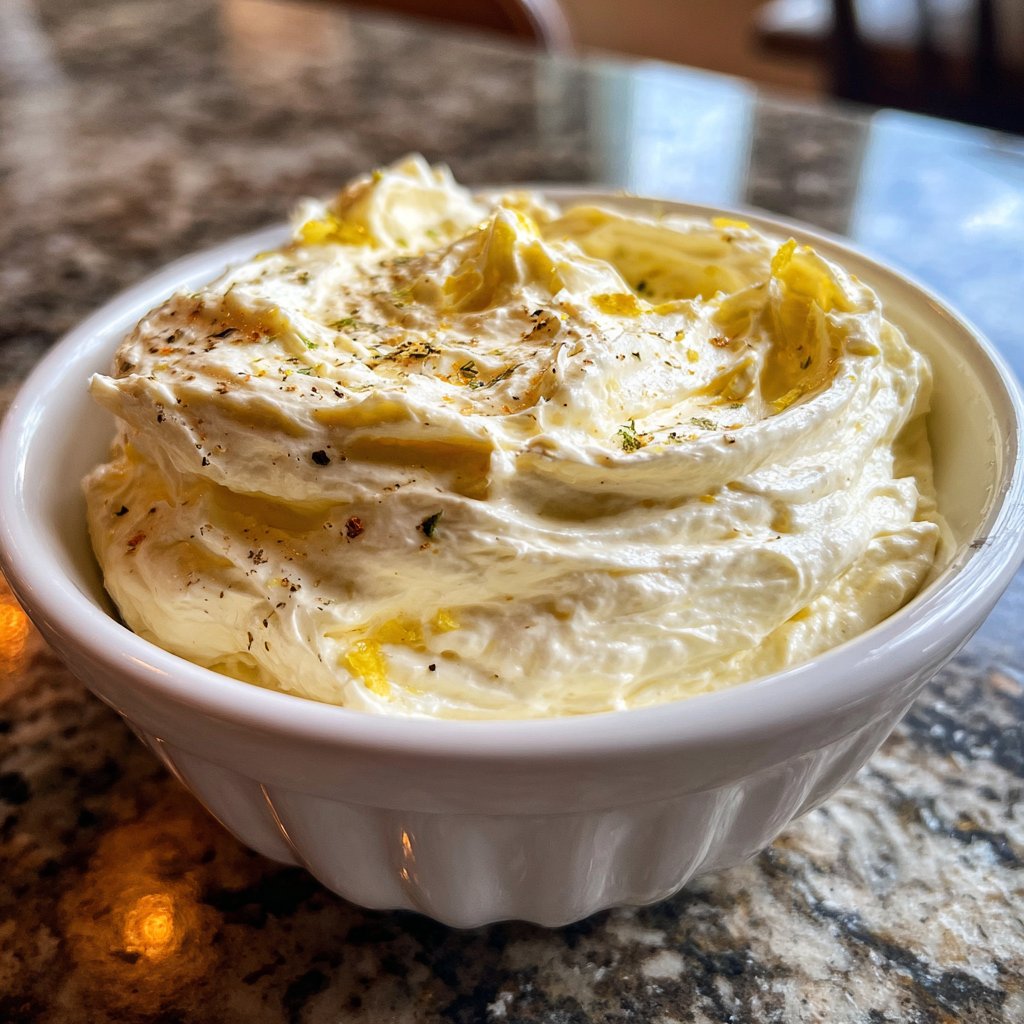
Emulsification is the key technique in creating a smooth aioli. When you whisk the olive oil in gradually, it allows the oil to disperse evenly throughout the egg yolk and lemon mixture. Make sure to whisk continuously and steadily; this helps in forming a stable emulsion. If your aioli begins to separate, don’t panic! You can add a teaspoon of warm water and whisk vigorously to bring it back together.
For the best results, use fresh ingredients. The freshness of your garlic directly impacts the flavor of your aioli, so choose firm, unblemished bulbs. Similarly, using high-quality extra virgin olive oil will enhance the overall taste. If you find that your aioli is too thick at any point, you can simply thin it out with a few drops of warm water until you achieve the desired consistency.
Flavor Variations
One of the incredible things about aioli is its versatility. You can customize the flavor by adding other ingredients like herbs or spices. For instance, incorporating fresh basil or dill can give a refreshing twist, while smoked paprika can add a fabulous depth. Start with small amounts, around a teaspoon, and blend well before tasting. This way, you can adjust to your palate’s preference without overwhelming the garlic taste.
To elevate your aioli further, consider adding a splash of mustard or a pinch of cayenne pepper for a slight kick. These additions not only enhance flavor but also add complexity. Remember, the key is balance; you want to complement the garlic and lemon rather than overpower them.
Storage and Serving Suggestions
Homemade aioli can be stored in an airtight container in the refrigerator for up to one week. However, the flavor will intensify over time, so it’s best enjoyed fresh. If you need to make it ahead of time, consider preparing it up to two days before serving to allow the flavors to develop. Just give it a good stir before using, as some separation may occur.
Aioli pairs beautifully with a variety of dishes. It works well as a dip for fresh vegetables, a spread for sandwiches, or a condiment for grilled meats and seafood. If you want to create a fantastic appetizer, consider serving aioli alongside crispy roasted potatoes or as a drizzle over grilled artichokes. The possibilities are endless!
Ingredients
Gather these fresh ingredients to make your homemade aioli:
Ingredients
- 2 cloves garlic, minced
- 1 large egg yolk
- 1 tablespoon lemon juice
- 1 cup olive oil
- Salt to taste
Instructions
Follow these simple steps to create your aioli:
Combine Ingredients
In a bowl, whisk together the minced garlic, egg yolk, and lemon juice until well combined.
Emulsify
Slowly drizzle the olive oil into the mixture while continuously whisking to create a smooth emulsion.
Season
Once the aioli reaches your desired thickness, season it with salt to taste.
Serve
Transfer the aioli to a serving dish and enjoy it fresh with your favorite dishes.
Pro Tips
- For a garlic lover's dream, let the aioli sit in the fridge for an hour before serving to let the flavors meld wonderfully.
Troubleshooting Common Issues
If your aioli splits during preparation, it's usually due to adding the oil too quickly. To fix this, start over with a new egg yolk in a clean bowl and slowly incorporate the split mixture, whisking continuously. It's all about patience, so take your time and ensure the oil is drizzled in as you whisk vigorously.
Another common challenge is getting the right consistency. If your aioli is too thick, add a few drops of warm water or lemon juice until it loosens to your liking. If it's too runny, continue whisking while slowly adding a bit more oil to thicken it up. Don’t rush the process; achieving that creamy texture is worth the effort!
Ingredients Insights
The star of aioli, garlic, not only adds richness but also health benefits such as boosting your immune system. Use fresh, minced garlic for the best flavor; jarred garlic often lacks the pungency needed for a robust aioli. If you’re sensitive to garlic, consider roasted garlic for a milder taste, which can still provide wonderful depth without the sharpness of raw garlic.
Egg yolk is essential for emulsification in aioli, providing the body and richness that helps bind the oil. Be sure to use a large egg yolk to balance the volume of the oil you’re using. If you're concerned about using raw egg, pasteurized yolks are a great alternative, ensuring safety without sacrificing flavor.
Scaling Your Aioli Recipe
If you're throwing a gathering and need a larger batch of aioli, scaling the recipe is straightforward. For every additional cup of olive oil, consider adding another egg yolk, a clove of garlic, and a tablespoon of lemon juice to maintain the flavor balance. Just remember to adjust your whisking technique to accommodate the increased volume; a stand mixer can make this process easier if you're preparing a large amount.
For smaller batches, reducing the ingredients can work as well, but avoid going below the ratio of one egg yolk for every two cloves of garlic to ensure flavor integrity. This flexibility means you can create the perfect amount of aioli for any occasion.
Questions About Recipes
→ Can I make aioli without raw eggs?
Yes, you can use pasteurized eggs or substitute with mayonnaise to avoid using raw eggs.
→ How long can homemade aioli be stored?
Homemade aioli can be stored in the refrigerator for up to one week.
→ What can I use aioli for?
Aioli is great for sandwiches, as a dip for veggies, or drizzled over grilled meats and seafood.
→ Can I add other flavors to aioli?
Absolutely! Try adding herbs, spices, or even roasted vegetables for unique flavor variations.
Easy Aioli Recipe at Home
What You'll Need
Ingredients
- 2 cloves garlic, minced
- 1 large egg yolk
- 1 tablespoon lemon juice
- 1 cup olive oil
- Salt to taste
How-To Steps
In a bowl, whisk together the minced garlic, egg yolk, and lemon juice until well combined.
Slowly drizzle the olive oil into the mixture while continuously whisking to create a smooth emulsion.
Once the aioli reaches your desired thickness, season it with salt to taste.
Transfer the aioli to a serving dish and enjoy it fresh with your favorite dishes.
Extra Tips
- For a garlic lover's dream, let the aioli sit in the fridge for an hour before serving to let the flavors meld wonderfully.
Nutritional Breakdown (Per Serving)
- Calories: 210 kcal
- Total Fat: 23g
- Saturated Fat: 3g
- Cholesterol: 37mg
- Sodium: 0mg
- Total Carbohydrates: 1g
- Dietary Fiber: 0g
- Sugars: 0g
- Protein: 1g